Baby Owl Tree Nursery
by Monica
(Cleveland OH)

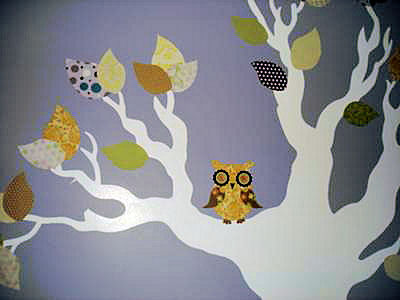
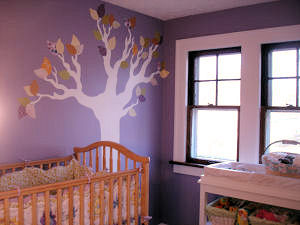
Tree Mural with Baby Owls Perched in the branches above the Baby's Crib
We had so much fun decorating our baby owl tree nursery theme. I can truly say that we had a HOOT! We kicked off the project by painting the wall over the crib. You can see the design that we chose in the pictures. Keep reading to see exactly how we created the design.
First we sketched the outline of the trunk of the tree on the wall. (You can adjust the colors to match your
owl baby bedding set.
A picture of the tree's trunk was sketched on transparency paper and then projected onto the wall as a guide.
 Go here to see more.
I used a small paint brush to draw an outline of the trunk and then came back over it with a narrow roller to fill in the large branches and trunk.
A smaller paintbrush was used to paint the details of the smaller tendrils. It took 2 coats of paint to get the coverage that I wanted.
Then I chose an array of different patterned scrapbook papers and cut out various sized leaves which were then run through Xyron adhesive machines so that the backs of the leaves were sticky.

|
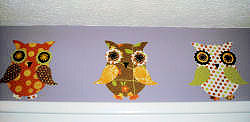
| BABY OWL WALL BORDER |
|---|
The next step that we took in decorating the
baby owl tree nursery was to peel the shapes off of the adhesive paper.
One after the other, we started to stick them on the limbs of our painted tree. As an afterthought, a baby owl was added to look over the crib.
BABY OWL and LEAF PATTERN I know that there are those of you that will want to decorate your baby's nursery with baby owls after seeing this cute baby owl in the tree nursery theme. I wanted to let you know that you may be able to recreate the pattern pieces to the baby owls and the leaves in the tree mural by enlarging the pictures and tracing them.
I know that
Unique Baby Gear Ideas ' visitors will want to re-create Monica's mural design and I don't think that she would mind answering questions if you run into any problems.


